Whether you’re working with a studio apartment, a small guest bedroom, or just a corner of your living room, a mini bar doesn’t need to eat up precious square footage. The key is thinking vertically and choosing layouts that fit your actual space, not Pinterest fantasies. In 2026, small space mini bar design has shifted away from massive built-ins toward flexible, functional solutions that serve double duty as both storage and statement pieces. This guide walks you through the smartest mini bar layouts, furniture choices, and styling tricks to create a polished drink station that feels custom-built for your home.
Table of Contents
ToggleKey Takeaways
- Small space mini bar design prioritizes vertical layouts and flexible furniture over massive built-ins, using corners, wall-mounted shelves, and mobile bar carts to maximize limited square footage.
- Corner bars and floating wall-mounted shelves anchored into studs offer the smartest solutions for tight spaces, keeping your bar tucked away without dominating the room.
- Dual-purpose furniture combining your mini bar with bookshelves, plants, or media storage creates an integrated design that feels custom-built rather than cramped.
- Invest in mixed open and closed storage—closed shelving hides less attractive bottles while open displays showcase premium spirits and quality glassware.
- Strategic lighting with pendant fixtures or LED strip lights and a small mirror behind the bar adds polish and makes the space feel larger without compromising function.
- Budget-friendly DIY mini bar builds cost $40–150 for carts and shelves when you prioritize quality paint, solid wood materials, and proper anchoring over expensive fixtures.
Maximize Your Space With Smart Mini Bar Layouts
Corner Bar Solutions For Tight Spaces
Corner spaces are often wasted real estate in smaller homes, making them perfect for a mini bar. A corner setup keeps the bar tucked away without dominating the room. Start by measuring your corner carefully, standard interior corners are 90 degrees, but take measurements at wall height, mid-height, and the floor to catch any irregularities. A simple L-shaped corner bar can be as basic as a single wall-mounted shelf unit wrapping into the adjacent wall, or as built-out as a small cabinet combo.
The advantage here is you’re working with two walls, which gives you more mounting options and anchoring points. If you’re renting or prefer no drill-and-nail, a tall, narrow corner bar cabinet (think 24–30 inches wide) can slide into place without fastening. For renters, a corner shelf unit on an adjustable stand or a tall bar cart does the job without permanent damage.
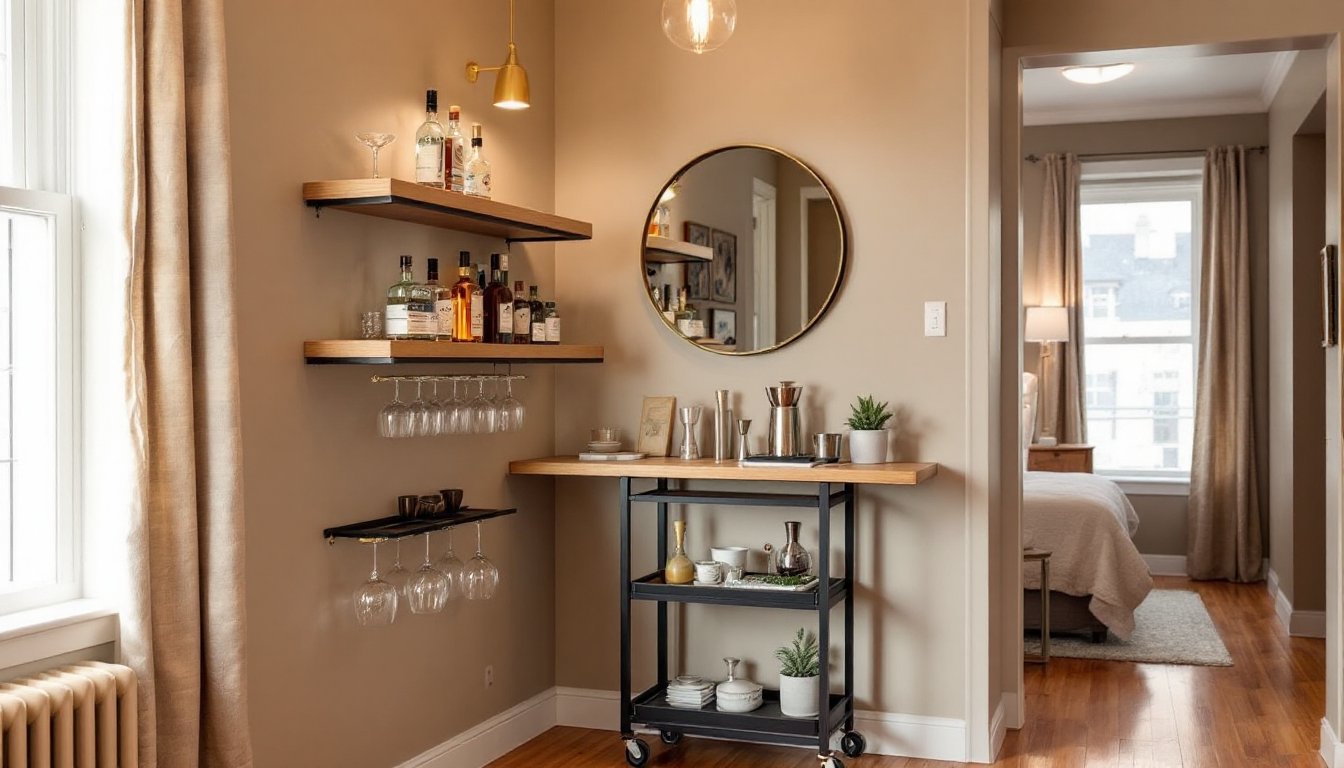
Wall-Mounted And Floating Options
Wall-mounted bars are the go-to for micro-apartments and open layouts where floor space is premium. A single floating shelf (14–16 inches deep, 36–48 inches wide) mounted at 36–42 inches from the floor creates a bar-height work surface. Make sure you’re anchoring into studs or using heavy-duty wall anchors rated for the weight, a mini bar shelf loaded with bottles and glassware can easily exceed 50 pounds.
Floating bars work best when paired with open shelving or a narrow console below for bottle storage. The illusion of space is crucial here, so keep the floating element clean and minimal. A matching set of floating shelves at two heights (one at bar height, one above for glasses and decorative bottles) creates visual interest without cluttering the wall. This approach is reversible too, if you move, take the shelves with you.
Essential Mini Bar Furniture And Storage Ideas
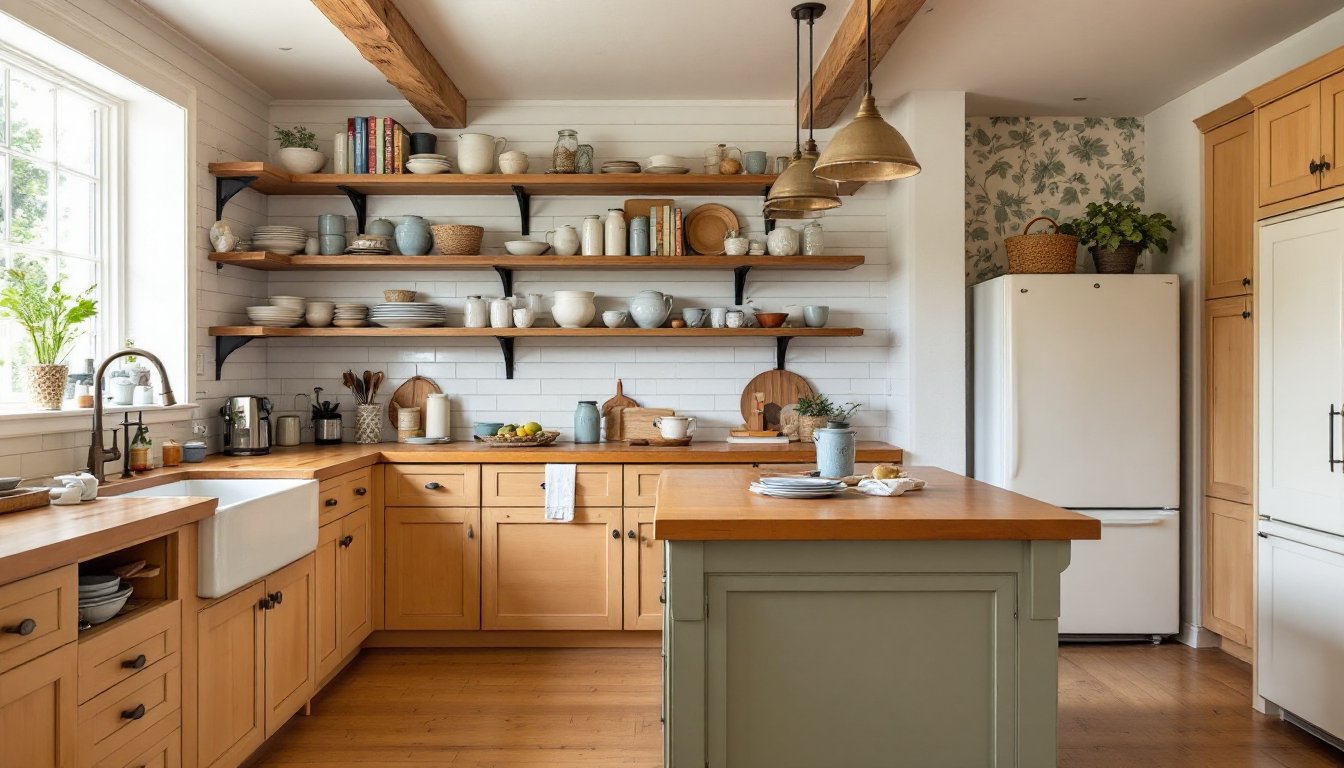
Storage is where a small-space mini bar either succeeds or fails. You need easy access to spirits, mixers, glassware, and tools without the setup looking like a cramped closet. A compact bar cabinet, roughly 24–36 inches wide and 30–40 inches tall, holds everything you need while staying proportional to your room.
Look for cabinets with a mix of closed and open storage. Closed shelving hides less attractive bottles and mixes while open shelves display nice glassware or premium spirits. Many modern mini bar cabinets include a fold-down or slide-out work surface, which adds a functional bar top without taking up extra floor space when closed. If you prefer building your own, simple box shelving (vertical file organizers or wire shelving) inside a basic cabinet frame does the job and costs less.
For bottle storage, invest in an wine rack insert or wire bottle holder, these keep bottles secure and visible. Glass stemware hangers mounted under shelves (similar to a wine glass rack) free up shelf real estate. For mixing tools, a small stainless-steel caddy or a shallow drawer organizer keeps bar spoon, jigger, strainer, and muddler in arm’s reach. The goal is making setup and cleanup fast: nobody wants to dig through clutter to make a cocktail.
Small bar carts are another solid option, especially in studio apartments. A three-tier metal or wood cart (roughly 16 inches wide, 24 inches tall) rolls into a corner and out for entertaining. Mobile storage also lets you relocate your bar for parties or move it out of sight when needed. Make sure the cart’s wheels lock, stability matters when you’re carrying a full cocktail.
Style Your Mini Bar Without Compromising Function
Your mini bar should reflect your taste, but don’t sacrifice access for aesthetics. Use the small space living ideas that focus on dual-purpose design: combine a mini bar with a bookshelf, a plant display, or a media console. This approach makes the bar feel integrated rather than tacked-on.
Choose a color palette that fits your room. If your space is already busy, go neutral with the bar itself (white, natural wood, or matte black) and let your bottle collection and glassware provide visual interest. For minimalist rooms, a darker, woodgrain finish or sleek metal frame adds warmth and definition. Keep hardware, handles, knobs, brackets, consistent with your room’s other fixtures.
Materials matter in small spaces because everything is more visible up close. Solid wood, quality plywood, or tempered glass look more intentional than particle board or chintzy metal. If your budget is tight, many DIYers find success with IKEA hacks that upgrade affordable base units with better hardware, a fresh stain, or custom shelving inserts. Painting a basic cabinet with quality semigloss or satin finish paint (use a primer first) transforms the look and boosts durability in a high-traffic area.
Decorate thoughtfully. Batch your bottles by type or color, display a few favorite glassware pieces, and add a small decorative item like a framed print or a single plant. Overcrowding a small bar makes the whole room feel cluttered. Stick to three main decorative elements and let the rest be functional.
Lighting And Decor Tips For A Polished Look
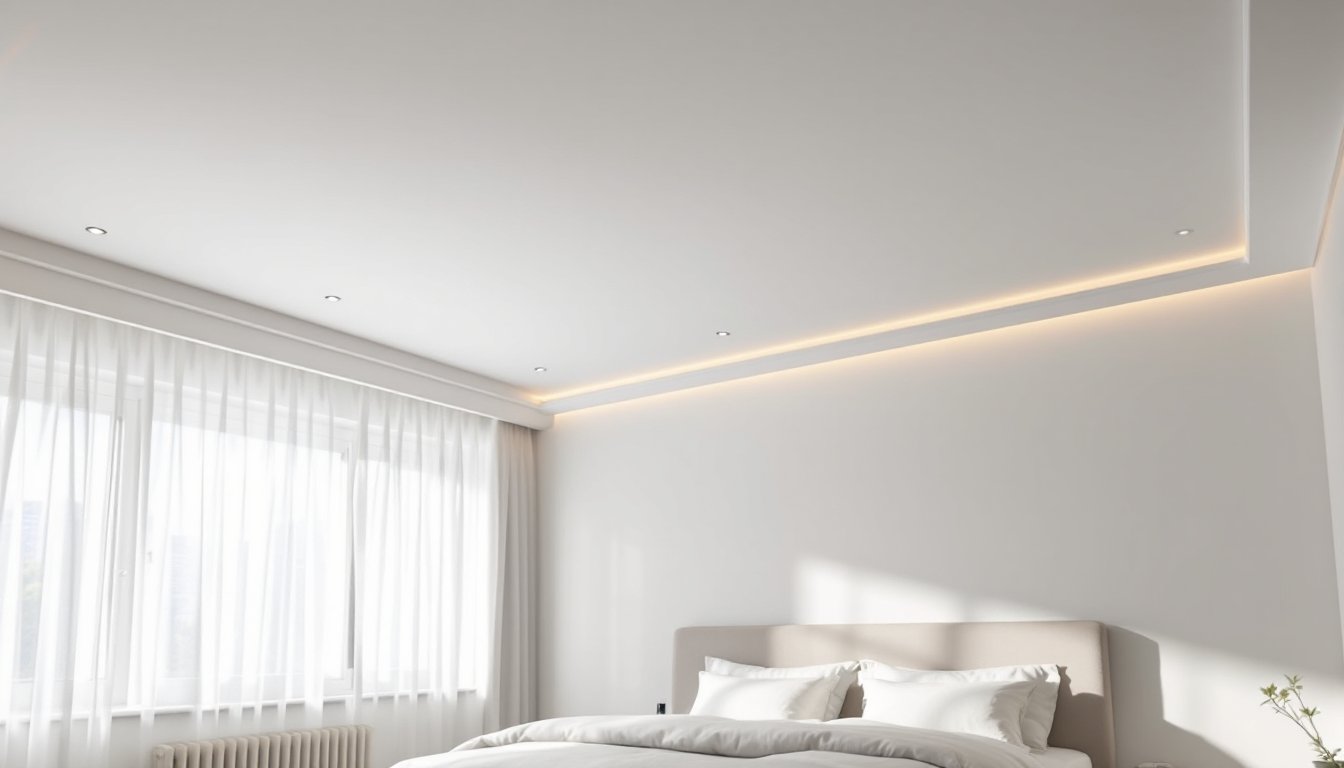
Lighting transforms a mini bar from functional to polished. A single pendant light or small adjustable sconce hung 12–18 inches above bar height creates task light and ambiance. This also draws the eye to your bar as a deliberate design feature. Battery-operated LED strip lights tucked under floating shelves cost under $20 and add a subtle glow without rewiring.
If you’re mounting new lighting, follow your local electrical code (NEC standards in the US require proper grounding and circuit protection). Rental-friendly alternatives include clip-on lamps that attach to the cabinet or a small table lamp on a compact surface.
Decor should be minimal and purposeful in tight quarters. A small bar mirror (16–24 inches wide) behind your bar serves double duty: it makes the space feel bigger and reflects light. Stick to one or two decorative bottles, a small vase, or a subtle piece of wall art. Avoid multiple small trinkets that’ll gather dust and clutter the sightline.
Choose finishes that feel intentional: matte black frames with brass accents, natural wood with white shelving, or a monochrome color scheme. The bar itself becomes part of your room’s visual story rather than an afterthought. Small kitchen solutions often apply here too, the same design principles that make a galley kitchen work translate to a compact bar.
Budget-Friendly Mini Bar Ideas For DIY Projects
Building or assembling a mini bar on a budget comes down to smart material choices and sweat equity. A basic floating shelf setup (three shelves, stud-mounted) costs $80–150 for materials: solid pine boards, shelf brackets, fasteners, and wood stain. Measure twice, use a level, and anchor into studs at least 16 inches apart.
A simple bar cart build uses 1×12 lumber cut to length, metal casters rated for at least 50 pounds, and wood glue or pocket hole joinery. Budget $40–70 for materials if you have basic tools. No woodworking experience? A ready-made cart from a home improvement store ($50–120) saves time and frustration.
For cabinet builds, a basic plywood box with a hinged door front and adjustable shelves inside can be assembled for $100–150. Use pocket hole joinery (a Kreg jig rents for $10–20 at tool libraries) instead of mortise-and-tenon if you’re new to carpentry. Sand everything smooth, rough edges and visible screws scream amateur even if the structure is solid.
Paint quality matters more than wood quality on a budget. A $30 can of semigloss cabinet paint covers better and lasts longer than discount flat paint. Prime first with a bonding primer if covering dark wood or existing finish. Apply two coats, sand lightly between coats, and you’ve got a finish that rivals expensive store-bought pieces.
Glassware and bar tools don’t need to be precious. Budget options from restaurant supply stores or online retailers work fine for cocktails. Invest in one or two nice mixing glasses and a quality jigger, these get heavy use, and use standard pint glasses for other drinks. Secondhand stores often have quality vintage glassware for pennies, and imperfect pieces add character.