A butler pantry sits quietly between your kitchen and dining room, doing the heavy lifting most guests never see. This dedicated workspace, part storage hub, part prep area, has evolved from a Victorian luxury into a practical solution for modern homes. Whether you’re entertaining frequently, managing a busy household, or simply tired of cramped cabinet space, a well-designed butler pantry transforms how you work and host. It’s not just about looking polished when people arrive: it’s about having a functional second kitchen that lets you keep the main kitchen out of sight while service flows seamlessly. If you’ve been wondering how to maximize your home’s potential without a full kitchen overhaul, butler pantry design offers smart, achievable answers.
Table of Contents
ToggleKey Takeaways
- Butler pantry design transforms entertaining by creating a hidden prep and plating station between your kitchen and dining room, keeping your main kitchen out of sight during gatherings.
- An ideal butler pantry layout prioritizes accessible entry/exit doors, 3–4 feet of counter workspace, and floor-to-ceiling storage cabinets to maximize vertical space efficiently.
- Mix open shelving for displaying attractive serving pieces with closed cabinets for daily-use items, and install quality drawer dividers and pull-out organizers to protect fine china and glassware.
- Proper lighting is critical in butler pantries—install recessed overhead lights (50–75 foot-candles), under-cabinet LED strips, and inside-cabinet puck lights to eliminate shadows and showcase your storage.
- You can create a functional butler pantry for $3,000–8,000 using prefabricated cabinetry, laminate counters, and stock hardware; focus spending on durability and lighting rather than decorative details.
- Coordinate your butler pantry’s finish, hardware, and materials with adjacent kitchens and dining rooms to create a seamless, intentional aesthetic that increases home appeal at resale.
What Is a Butler Pantry and Why It’s Worth Adding to Your Home
A butler pantry is a secondary workspace positioned between the kitchen and dining room, essentially a private staging area for entertaining. Historically, butlers used these spaces to polish silver and prepare formal service away from the main kitchen’s clutter. Today’s version skips the white-glove tradition but keeps the core appeal: a hidden kitchen for prep, plating, and storage that keeps your main cooking area tidy when company arrives.
Why add one? First, it keeps your kitchen out of sight during gatherings. You can finish dishes, prep desserts, and manage clutter without guests seeing it. Second, it provides crucial overflow storage, think holiday platters, serving pieces, and glassware that don’t fit in your primary kitchen. Third, it creates a professional plating station if you entertain regularly. For families with multiple cooks, it becomes a second prep zone during holiday cooking, reducing bottlenecks.
The best part: you don’t need a sprawling Victorian mansion. Even a modest 8×10 space tucked between rooms delivers real value. A butler pantry also increases home appeal at resale, buyers recognize the functionality immediately.
Planning Your Butler Pantry Layout and Size
Start with your existing space and traffic flow. Ideally, a butler pantry should be accessible from the kitchen via one door and open to the dining room via another, creating a logical service corridor without forcing guests through food prep zones.
Size depends on available real estate. A basic butler pantry runs 36 to 48 inches wide and 24 inches deep, essentially a galley-style corridor. If you have more room, expanding to 8×10 feet or larger gives you actual counter workspace and standing room for multiple people. Measure your space precisely: undersized pantries become claustrophobic, oversized ones feel wasteful.
Layout priorities should follow this order:
- Entry and exit doors positioned to avoid blocking traffic flow
- Linear counter space (minimum 3–4 feet) for plating and prep work
- Tall storage cabinets along one wall to maximize vertical space
- Sink (optional but useful) if plumbing access exists nearby
- Appliance zones if you’re adding a small beverage cooler or wine fridge
Check local building codes before starting: some jurisdictions classify butler pantries differently for ventilation or electrical requirements. If you’re adding a sink, you’ll need proper drainage and venting, factor in plumbing costs early. A professional designer can audit your space quickly and catch issues like undersized doorways or structural walls you can’t move.
Essential Storage and Cabinet Solutions
Storage is where butler pantries earn their keep. Stock shelving, base cabinets, and tall cabinetry differently depending on what you store.
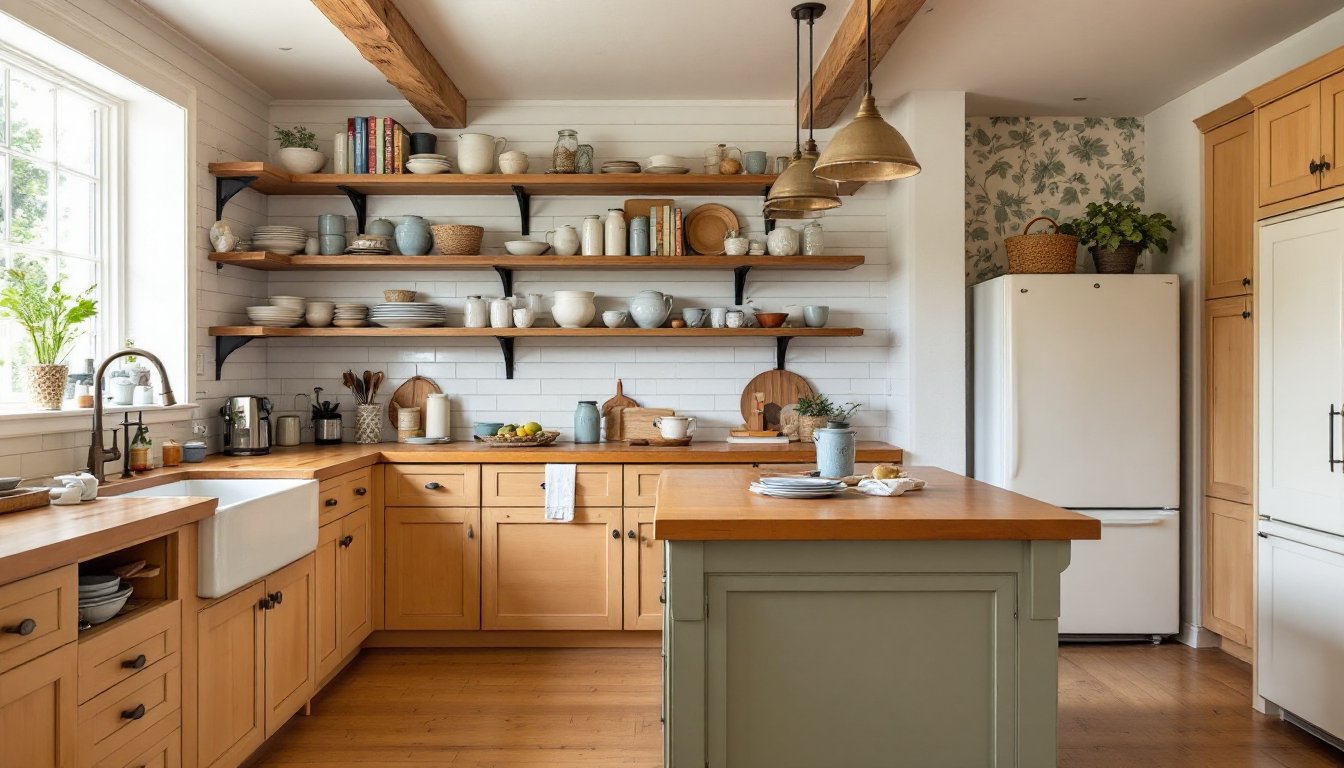
Open Shelving vs. Closed Cabinets: Open shelves display serving pieces and glassware beautifully but collect dust and require styling. Closed cabinets hide clutter but demand good lighting inside. Mix both, use closed cabinets for daily-use items and open shelves for attractive pieces you use regularly.
Drawer Dividers and Pull-Out Organizers prevent serving pieces from sliding around. Quality drawer slides and pull-out baskets cost more upfront but eliminate the frustration of reaching into deep cabinets. If you’re storing fine china, glassware, or serving platters, these features protect your investment.
Vertical Space Matters: Install cabinets floor-to-ceiling if ceilings allow. Wasted space above 84 inches means lost storage. Adjustable shelving adapts as your needs change.
For a modest budget, prefabricated cabinet sets from home centers work well, they’re mass-produced but solid. If you want custom sizing or unique finishes, a local cabinet maker costs more (typically $100–200 per linear foot installed) but accommodates irregular walls or specific dimensions.
Countertop and Work Surface Options
Your countertop needs to handle both display and heavy work. Quartz or laminate offer durability and easy cleanup at reasonable cost. Laminate starts around $15–25 per square foot installed: quartz runs $50–120. Natural stone like granite or marble looks refined but stains easily and demands upkeep, save it for serving display, not everyday prep.
Depth matters: Standard kitchen countertops are 24 inches deep: in tight butler pantries, consider 18 inches to preserve walkway width. If space is truly limited, a small 24-inch deep counter section paired with narrower shelving creates breathing room.
Buttressed edges (like edge banding on laminate or bullnose on stone) prevent chips and look finished. Avoid sharp edges in high-traffic zones, people brush past these spaces constantly.
Design Styles and Finishes for Every Home
Your butler pantry should whisper, not shout. Unlike a statement kitchen, it’s a working space that must feel calm and functional while matching your home’s aesthetic.
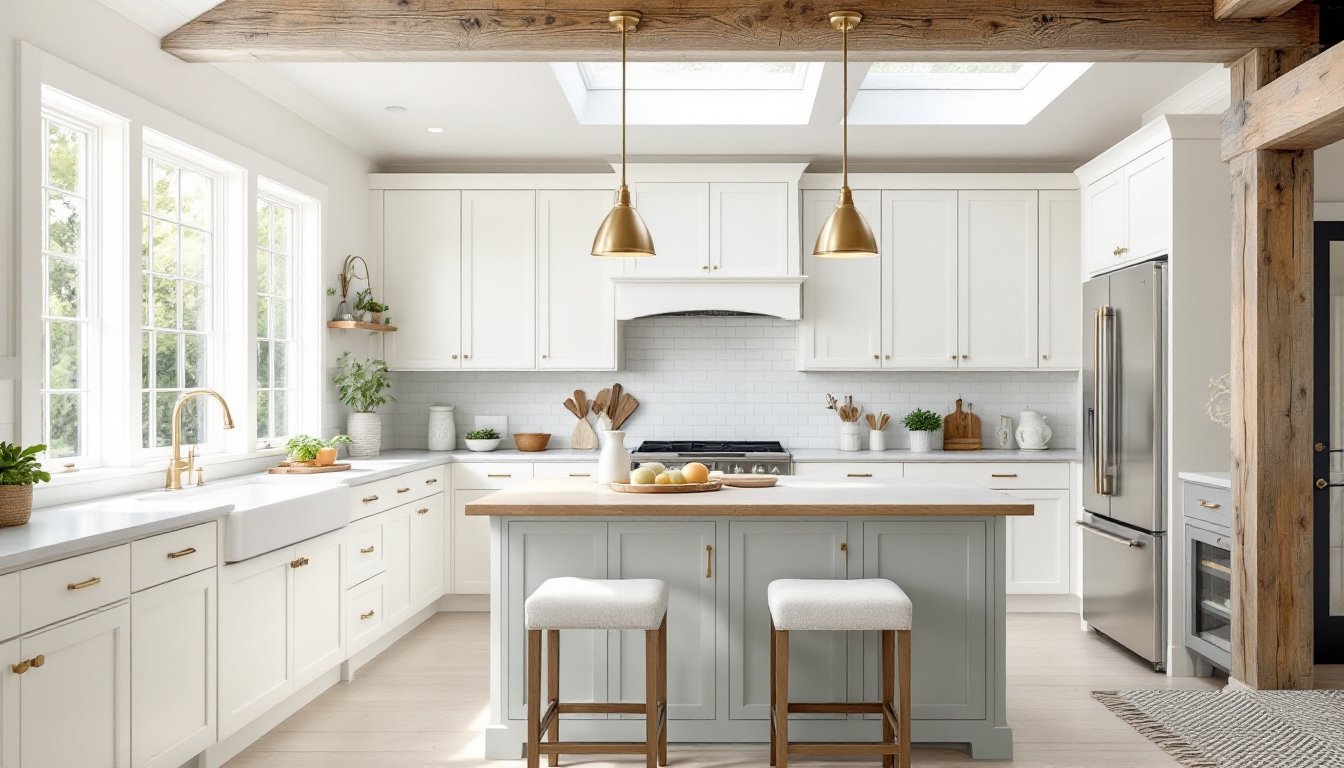
Classic and Traditional: White or soft gray cabinetry with glazed finishes and crown molding signal elegance without fussiness. Paired with glass-front upper cabinets, it displays china and crystal beautifully. This style suits Colonial, Victorian, and farmhouse homes naturally.
Modern and Minimalist: Flat-front cabinets in white, black, or natural wood with concealed hardware keep sightlines clean. Avoid decorative details: let clean proportions and quality materials speak. Stainless steel accents work here without looking dated.
Transitional: A middle ground mixing traditional proportions with contemporary finishes. Shaker-style cabinet doors in warm gray or off-white, plus minimal hardware and a lean material palette, suit most homes built after 1990.
Whatever style you choose, your butler pantry’s palette should coordinate with adjacent rooms, especially the kitchen and dining room. Carry over one or two finishes (cabinet color, hardware style, countertop material) so it feels intentional, not random. Beautiful butler’s pantries often to balance function and aesthetics.
Finish quality matters for durability. Lacquer or polyurethane paint resists nicks better than standard paint. Satin or semi-gloss sheens hide fingerprints better than high-gloss in a high-touch zone.
Lighting and Functionality Upgrades
A butler pantry without proper lighting becomes a frustrating cave. Since it’s often an interior room with no windows, you’re starting from zero natural light.
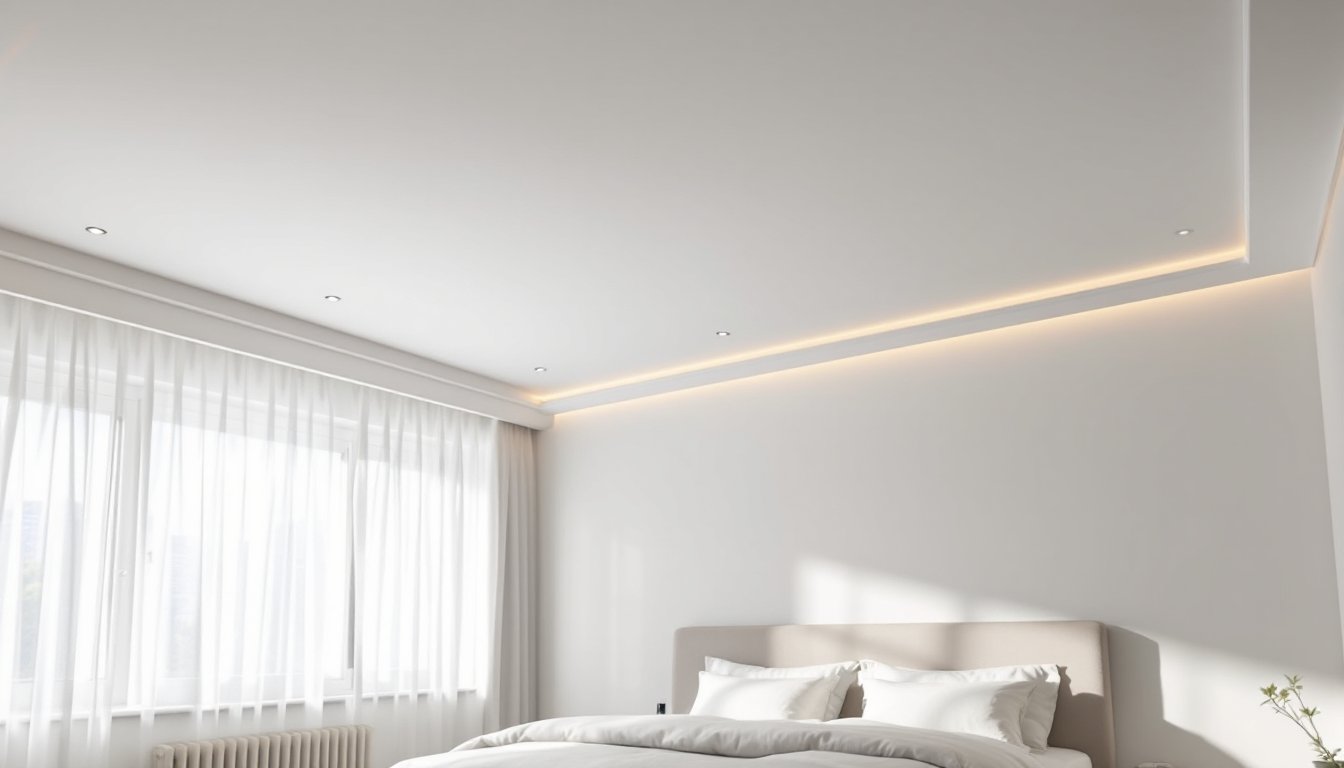
Overhead Lighting: Recessed lights spaced 24 to 36 inches apart illuminate work surfaces evenly. Install them on a dimmer so you can lower brightness for ambient entertaining. Aim for 50 to 75 foot-candles of light on countertops, roughly double typical living room brightness. If ceiling height allows, a flush-mount fixture or low-profile pendant can replace recessed lights and look more intentional.
Task Lighting: Under-cabinet strips (LED works best, low heat, long-lasting) highlight countertops and backsplashes while looking polished. These cost $20–60 per run and are usually a straightforward DIY install if you have outlet access.
Inside Cabinet Lighting: LED puck lights mounted inside glass-front cabinets showcase your serving pieces and make finding items easier. Battery-operated versions avoid rewiring: hardwired options look seamless.
Electrical Outlets: Plan generously. You’ll need at least two dedicated circuits (preferably 20-amp) for potential appliances like beverage coolers, warming drawers, or ice makers. Code typically requires outlets spaced 12 feet apart on open walls. If adding a sink, a GFCI outlet within 6 feet is required by the National Electrical Code.
Ventilation matters too. If your butler pantry includes a beverage cooler or wine fridge, ensure adequate air circulation around the back. Cramped appliances overheat and fail prematurely.
Budget-Friendly Butler Pantry Makeovers
A full-custom butler pantry can run $15,000–40,000+ depending on finishes and appliances. But you don’t need a bottomless budget to create value.
Start with Basics: Closed or open shelving, quality counter surface, and thoughtful lighting deliver 80% of the payoff. Skip the built-in beverage cooler and wine fridge initially: add them later if entertaining demands justify the cost.
DIY-Friendly Options:
- Prefab cabinetry from big-box retailers ($3,000–8,000 for a modest setup) paired with your own countertop install
- Floating shelves and brackets instead of built-in cabinetry (material cost only, roughly $200–600)
- Paint existing cabinets if you’re converting a coat closet or underused space, primer and semi-gloss paint transform dated finishes for under $300
Smart Swaps:
- Laminate counters instead of quartz (save $30–50 per square foot)
- Stock cabinetry instead of custom (typically saves 40–60%)
- Standard hinges and knobs instead of soft-close hardware (save $8–15 per door)
Where not to cheap out: countertop durability (poor laminate chips easily) and lighting (dim or flickering lights make the space feel cramped). Invest properly in these two, scrimp on decorative details like crown molding or fancy hardware.
You can also repurpose existing furniture. A tall antique dresser or bookcase works as a butler pantry cabinet if you add a countertop surface on top. Pairing vintage storage with modern shelving and lighting creates character while staying budget-conscious. Home design inspiration sites regularly feature budget butler pantries that prove you don’t need luxury finishes to achieve a polished, functional space.