Designing a small hotel bathroom doesn’t mean cramming fixtures into a closet-sized space and calling it done. A well-planned small hotel bathroom balances function, aesthetics, and guest comfort, all while respecting square footage limits. Whether you’re renovating a guest bedroom bath, converting a closet, or redesigning a dated hotel suite, the same principles apply: smart layout planning, scaled-down fixtures, and strategic design choices make the difference between a cramped afterthought and a polished, functional retreat. This guide walks you through the essentials of small hotel bathroom design, from layout decisions to budget-smart updates you can tackle yourself.
Table of Contents
ToggleKey Takeaways
- Smart small hotel bathroom design prioritizes layout planning, scaled fixtures, and wall-mounted solutions to maximize functionality in 35–100 square foot spaces.
- Maintain required clearances (21 inches in front of toilets, 18–24 inches at sinks) and place fixtures strategically to preserve traffic flow and guest comfort.
- Choose compact, wall-mounted fixtures like pedestal sinks, corner toilets, and frameless glass shower enclosures to recover 1–2 square feet of valuable floor space.
- Use vertical storage, large-format tiles, mirrors, and light neutral palettes to create the illusion of space while eliminating visual clutter.
- Budget-friendly DIY updates like fresh paint, LED lighting upgrades, and hardware swaps can transform a small bathroom for under $500 without structural work.
- Leave plumbing, electrical, and tile installation to licensed professionals to avoid costly code violations and ensure quality in tight, unforgiving spaces.
Understanding Space Constraints and Layout Planning
Before you buy a single fixture, measure your space and understand what you’re working with. Most hotel bathrooms in smaller properties or guest rooms fall into the 35–100 square foot range. Sketch a floor plan: note the door swing, window position, and existing plumbing lines (moving plumbing is expensive, so work around it if possible).
The standard layout hierarchy is: toilet, then sink, then shower or tub. In tight spaces, this order determines traffic flow. A toilet shouldn’t be visible from the doorway, place it as far back as practical. The sink should be accessible without blocking the toilet or shower entry. If you’re working with less than 50 square feet, consider a corner toilet or angled arrangement to maximize the floor-to-fixture ratio.
One critical rule: leave at least 21 inches of clearance in front of the toilet, per IRC guidelines. In front of the sink, you’ll want a minimum of 18 inches (though 24 inches is more comfortable). Shower enclosures or tubs need a minimum 24-30 inches of maneuvering space. Measure twice, sketch to scale, and verify these clearances before finalizing your layout.
Choosing the Right Fixtures for Compact Bathrooms
Downsizing fixtures doesn’t mean sacrificing quality or appearance. It means choosing scaled versions and wall-mounted options that preserve floor space.
Sinks: A wall-mounted pedestal sink (18–24 inches wide) frees up floor area underneath and creates a sense of airiness. Alternatively, a compact vanity (24–30 inches wide) with integrated storage works well if you need drawer space. For tiny bathrooms, a corner sink or triangular basin fits awkward layouts without looking cramped.
Toilets: Standard toilets measure roughly 30 inches long and 28 inches wide, but compact elongated bowls (28–29 inches long) and round-front bowls (25–27 inches) shave inches. A wall-hung toilet saves the most floor space and simplifies cleaning, though it requires reinforced in-wall framing and runs $400–$800 installed (more than a floor model). For a budget-conscious DIYer, a standard compact elongated bowl with a space-saving tank is a solid middle ground.
Showers and Tubs: Decide early whether guests need a tub or shower. A shower stall (32×32 to 36×36 inches) occupies less footprint than a tub. If a tub is required, a soaking tub (54–60 inches long, 30 inches wide) offers luxury without a surround footprint much larger than a standard tub. In under 50 square feet, a corner shower enclosure or curved glass enclosure maximizes usable space.
Wall-Mounted and Space-Saving Solutions
Wall-mounted fixtures are game-changers in compact bathrooms. A wall-hung sink and wall-mounted toilet combined can recover 1–2 square feet of floor space, which feels substantial in a small room. Wall-mounted shelving and floating vanities (12–18 inches deep, 24–36 inches wide) tuck under mirrors without visual bulk.
For the shower, a frameless glass enclosure appears lighter and more open than framed models, and corner shelving nooks inside the shower eliminate the need for separate caddy shelves. A rain showerhead mounted overhead plus a handheld wand on a slide bar adds flexibility without floor clutter. Mount the bar at standard 38–48 inches from the tub rim.
Storage Solutions That Don’t Sacrifice Style
Storage is a top guest frustration in small hotel bathrooms. Clutter makes the space feel smaller, so every square inch must earn its place.
Vertical storage is your friend. Install a medicine cabinet (18–24 inches wide, 24–30 inches tall) above the sink. Wall-mounted shelving (12–18 inches deep) above the toilet or beside the shower provides folded towel storage without a footprint. A recessed niche or shower shelf built into the wall during framing is invisible when not in use (and looks built-in, not bolted-on).
Drawer and cabinet space under the sink keeps guest supplies out of sight. If you’re installing a pedestal sink, a wall-mounted cabinet beside or above it serves the same purpose without eating floor space. Avoid open shelving that exposes clutter, closed cabinets with soft-close hinges feel more upscale and hide the mess.
Small hotel bathrooms benefit from small space living ideas and budget-friendly decor tips that apply equally to bathroom storage. Mirror-faced cabinet doors reflect light and give the illusion of depth. A narrow, tall cabinet (12–18 inches wide, floor to ceiling) in a corner provides surprising volume.
Color, Lighting, and Visual Tricks to Expand Your Space
Color and lighting carry the visual weight in a small bathroom. Light, neutral palettes (white, soft gray, pale greige) reflect light and make walls feel farther away. If you want personality, use a bold accent color on a single wall or in tile accents, keep the other three walls neutral to avoid visual shrinkage.
Tile choices matter. Large-format tiles (12×24 or 24×24 inches) read as fewer grout lines, making the wall feel cleaner and more spacious than small subway tiles. Vertical tile orientation on walls (running the long edge vertically) draws the eye upward and adds height. Matte finishes feel warmer and more intimate: glossy finishes bounce light but can feel cold in tight quarters.
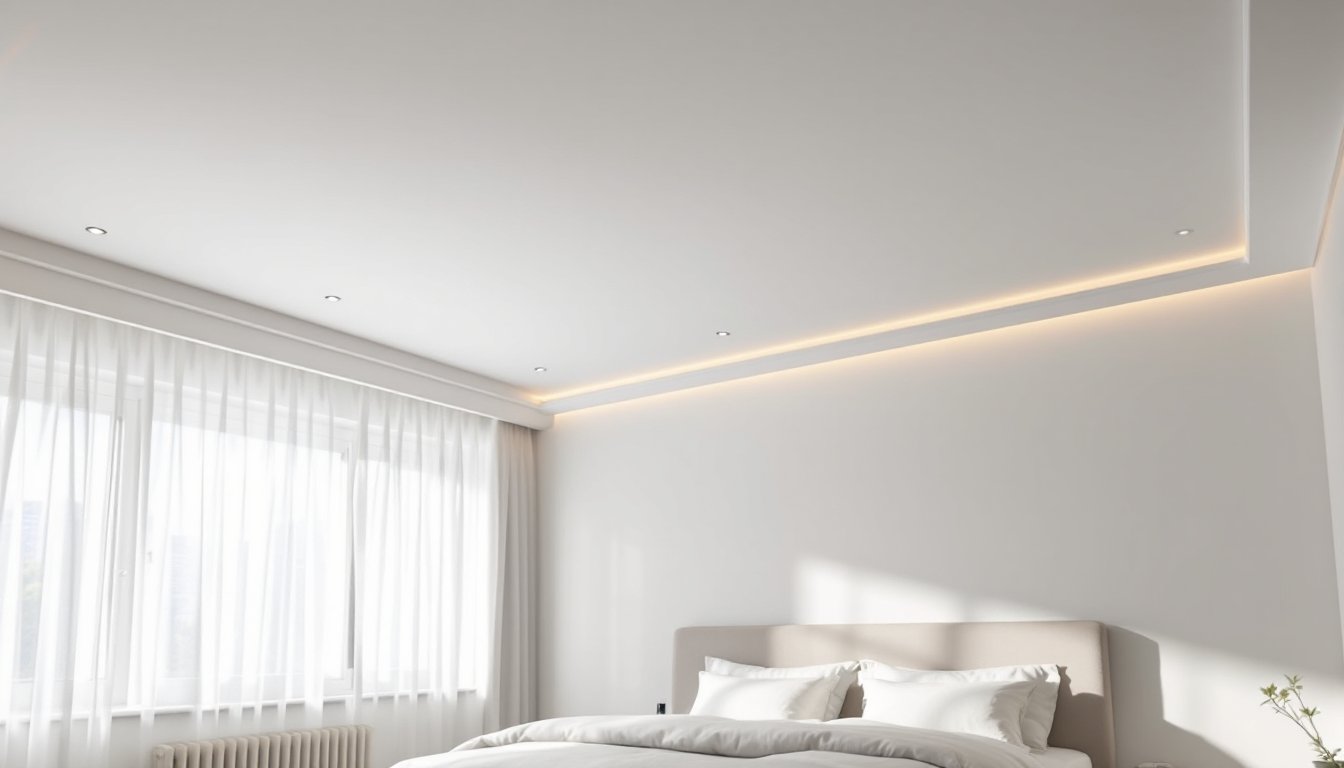
Lighting is non-negotiable. A single overhead fixture isn’t enough, add vanity lighting (sconces flanking the mirror or a bar above it) to eliminate shadows and make grooming easier for guests. Warm white light (2700K) feels welcoming: cooler light (4000K) can feel clinical. Install lights on a dimmer switch to let guests adjust mood. LED bulbs save energy and generate minimal heat in small, enclosed spaces.
Mirrors are the cheapest space-expander. A large mirror (full-wall or nearly full-wall) opposite a window multiplies perceived light and space. A mirrored medicine cabinet serves double duty. Avoid small, decorative mirrors in a compact bathroom, they fragment the visual field and make the space feel busier.
Budget-Friendly Updates and DIY Tips
Not every bathroom overhaul requires a contractor. Cosmetic updates deliver impact without structural costs.
Paint and caulk refresh dated bathrooms for under $100. Choose a semi-gloss or satin paint rated for bathrooms (resists moisture and mildew better than flat or eggshell). Two coats cover most walls. If existing tile is in decent shape but looks dull, re-caulk seams with white or color-matched caulk and caulk between the tile and wall. This simple fix transforms a tired look.
Lighting upgrades are DIY-friendly. Replace old incandescent or fluorescent vanity fixtures with modern LED bar lights or sconces. Turn off power at the breaker, remove the old fixture, and wire the new one (basic electrical knowledge required, if you’re uncomfortable, hire an electrician). A wire-less LED strip inside a recessed niche or under a floating shelf requires no wiring.
Swap fixtures strategically. Replacing a faucet, showerhead, and cabinet hardware costs $200–$500 and takes a few hours. A low-flow showerhead (1.5–2.0 GPM) saves water and cuts utility costs, hotels love this. Use an adjustable wrench and plumber’s tape on threads.
Shelving and storage add function cheaply. Floating shelves (12–18 inches, $30–$80 each) require wall-stud mounting and a stud finder. Use heavy-duty brackets rated for at least 25 pounds. A corner shower caddy costs $20–$40 and doesn’t require installation. For tile nooks, a recessed soap dish ($15–$40) beats a shelf cluttered with bottles.
When browsing design ideas for inspiration, curated home product guides and design sourcebooks help you identify fixtures and materials that fit your aesthetic. Consider DIY painting techniques (like faux finishes on one accent wall) to personalize the space without major renovation.
If plumbing, electrical work, or tile installation is required, hire a licensed professional. Small bathrooms amplify installation mistakes, and code violations can be costly to fix. Similarly, if your space falls under building codes requiring egress windows or ventilation upgrades, a permit may be required, check with your local building department before starting.
Conclusion
Small hotel bathrooms thrive on smart planning and intentional choices. Start with a scaled floor plan, choose fixtures that respect your square footage, and layer in storage, lighting, and visual tricks to create a sense of space. Many updates, painting, hardware swaps, lighting, and shelving, fall within a confident DIYer’s wheelhouse. For structural work, plumbing, and electrical, don’t hesitate to call a pro. The payoff is a polished, functional bathroom that guests actually enjoy, and that’s a win for any property.