Transitional bathrooms walk the line between classic and contemporary, no fussy flourishes, no cold minimalism, just thoughtful design that works. If you’re planning a bathroom renovation and want something that feels current without dating itself in five years, transitional style delivers. This approach combines clean lines and neutral palettes with warm textures and accessible luxury, making it ideal for homeowners who appreciate function as much as aesthetics. The good news: you don’t need a designer’s budget or advanced carpentry skills to pull it off. This guide walks you through the core design principles, material choices, and practical upgrades that define transitional bathrooms.
Table of Contents
ToggleKey Takeaways
- Transitional bathroom design balances clean lines with warm textures, avoiding both ornate excess and stark minimalism, making it ideal for renovations that remain current without dating quickly.
- A neutral color foundation of whites, grays, greiges, and warm wood tones creates visual calm while allowing restrained accent colors to represent only 15–20 percent of the space.
- Quality materials like solid wood vanities, quartz countertops, and brushed metal fixtures are more important than trends; they ensure durability and prevent costly mistakes like veneer particle board and patterned tiles that date fast.
- Layered lighting (ambient, task, and accent) paired with intentional storage solutions—floating vanities, recessed shelving, and simple medicine cabinets—keeps transitional bathrooms functional and clutter-free.
- Budget-conscious renovations can start with high-impact elements like a mid-range vanity ($400–$800), quality faucet ($150–$300), and cost-effective subway tile, saving money while maintaining the transitional aesthetic.
- Proper waterproofing, substrate preparation, and licensed plumber work ($800–$1,500) are non-negotiable investments that prevent costly water damage and code violations down the line.
What Defines Transitional Bathroom Design
Key Elements That Define The Style
Transitional design is essentially the middle ground between traditional period bathrooms and stark modern minimalism. Think clean vanity lines without harsh angles, neutral color schemes with warm undertones, and fixtures that prioritize both beauty and usability. The style leans heavily on symmetry, balanced proportions, and understated elegance, no ornate crown molding or bold geometric patterns demanding attention.
The core philosophy: materials and colors should whisper, not shout. A transitional bathroom typically features flat-panel cabinetry (sometimes with a subtle inset or lip molding), brushed metal hardware, and soft finishes rather than high-gloss surfaces. Tiling is often subway tile or simple geometric patterns in whites, grays, or soft earth tones. You’ll rarely see bold colors or statement walls, instead, restraint is the statement.
What makes this style work for renovations is its flexibility. Whether your home is 1970s ranch, 2005 colonial, or new construction, transitional bathrooms fit naturally because they don’t anchor to any single era. They also age well. A well-executed transitional bathroom designed today will look current in 2030 and beyond because the foundation rests on proportion and quality, not trends.
Color Palettes and Materials for Transitional Bathrooms
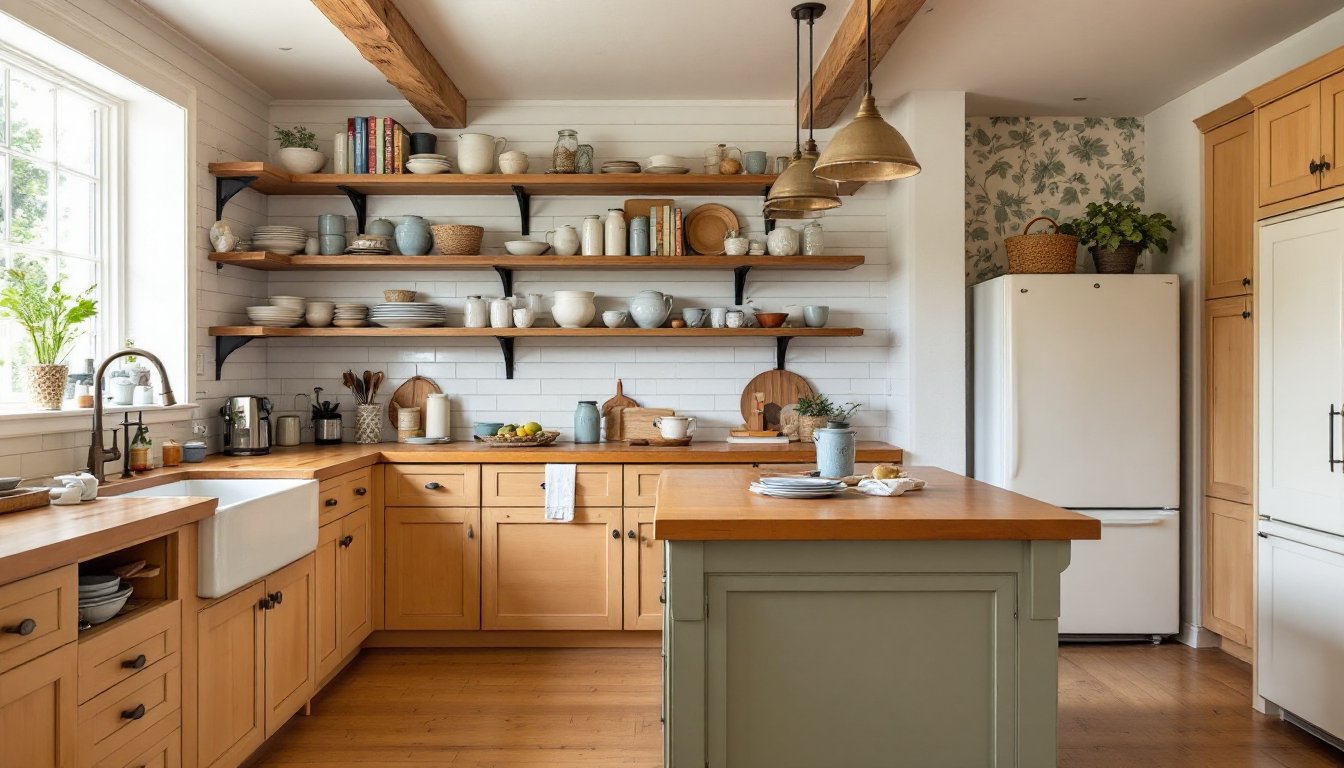
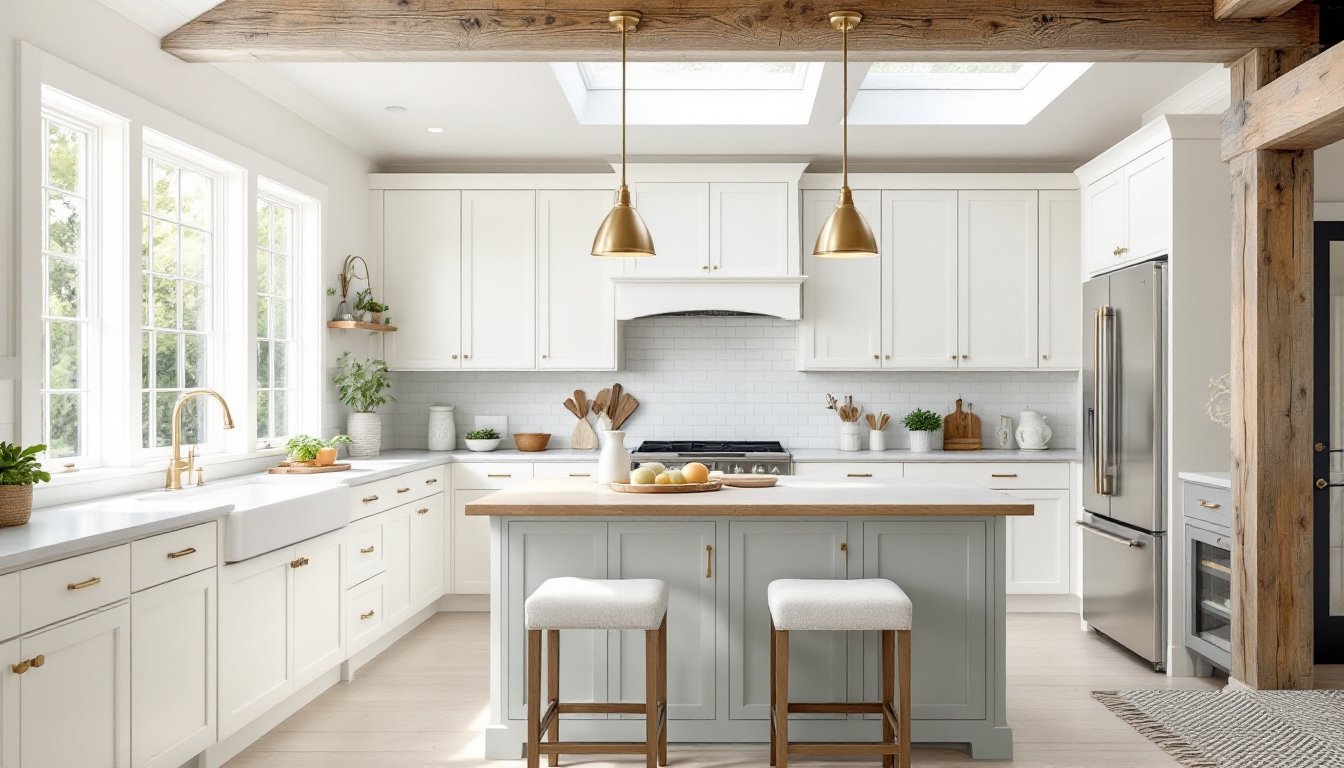
Start with a foundation of soft neutrals: whites, warm grays, greiges (gray-beige blends), and light taupes. These colors serve as your blank canvas and make the space feel larger and calmer. Pair them with warm wood tones, typically light to medium finishes like white oak or walnut, to add depth without visual clutter.
For wall and floor materials, subway tile remains a transitional standard, but don’t default to glossy white. Matte or satin-finish tiles in soft gray or warm white read more contemporary and hide soap residue better. If you prefer porcelain, look for options mimicking natural stone (limestone, marble veining) without the maintenance headaches. Lay it in a classic running bond pattern, it’s proven because it works.
Accent colors exist, but they’re muted. A soft sage green, dusty blue, or warm gray can appear in accessories, textiles, or an accent wall, but keep it to about 20 percent of the visual space. Recent expert advice on transitional design emphasizes that the key is restraint, your eye should land on proportion and material quality first, not color drama.
Material quality matters more than you’d think. Solid wood vanities (not veneered particle board) hold up to bathroom humidity for 15+ years. For countertops, quartz offers durability without the maintenance demands of real marble. Avoid trends like terrazzo or heavily patterned tile: they date quickly and compete visually.
Creating Balance With Fixtures and Hardware
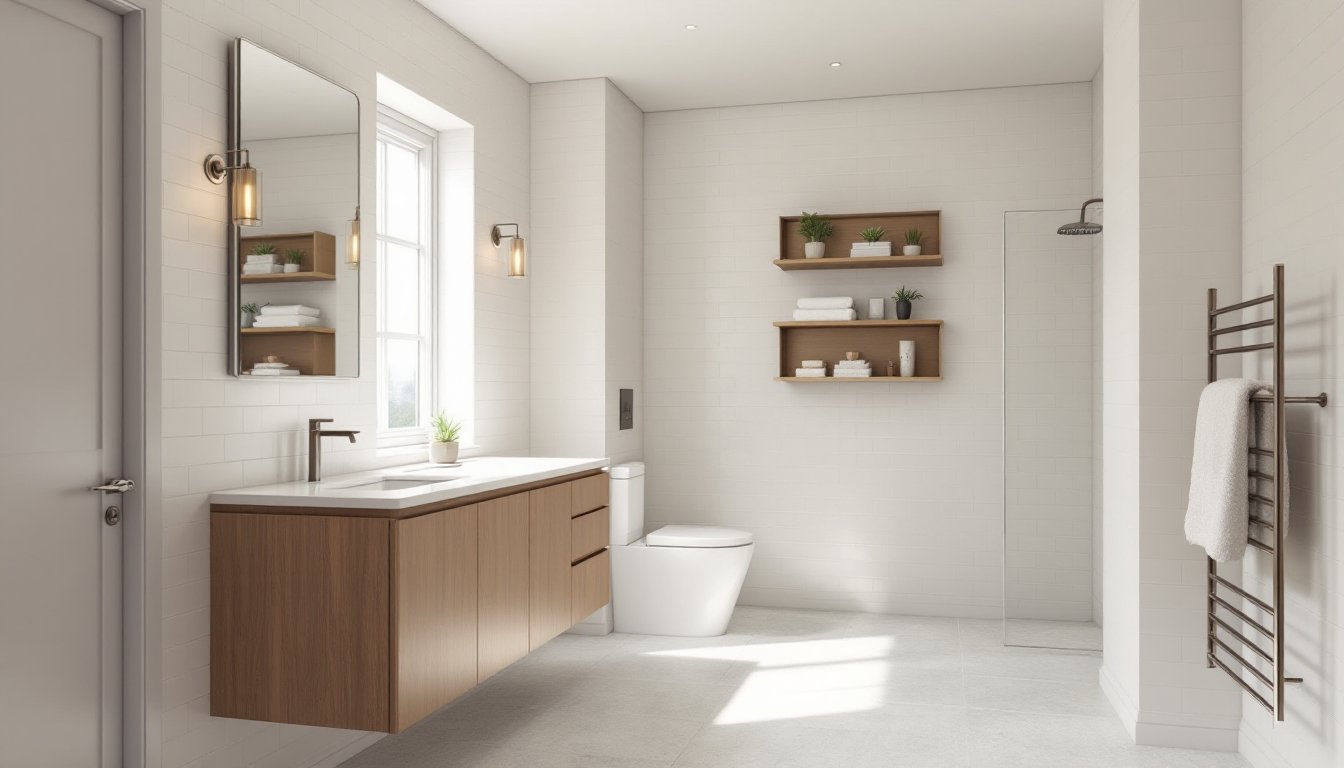
Fixture selection is where transitional design truly shines. You want pieces that feel timeless: think clean-lined faucets without ornate handles, simple drop-in or integrated sinks, and understated trim rings. Chrome, brushed nickel, and matte black finishes work best, they don’t compete with the rest of the room.
For the toilet, consider a modern round-bowl design with a sleek profile rather than ornate period replicas or ultra-minimalist wall-hung units (which require special plumbing and structural work). A simple elongated seat, soft-close lid, and integrated bidet features add comfort without visual fussiness.
Vanity sizing should follow real-world needs. A 36-inch vanity suits most bathrooms, but measure your space, forcing an 48-inch cabinet into a tight bathroom creates awkward proportions. Drawers over cabinet doors offer easier access and cleaner aesthetics. Pair your vanity with a frameless or simple-framed mirror (typically 24–30 inches wide) that sits slightly above the sink edge, leaving visual breathing room.
Resources like Homedit showcase bathroom layouts that balance fixture placement with traffic flow. The takeaway: all pieces should sit comfortably in their space without cramming or gaps. If your master bath is 5×8 feet, oversized fixtures will make it feel cramped. Proportion is everything.
Lighting and Storage Solutions
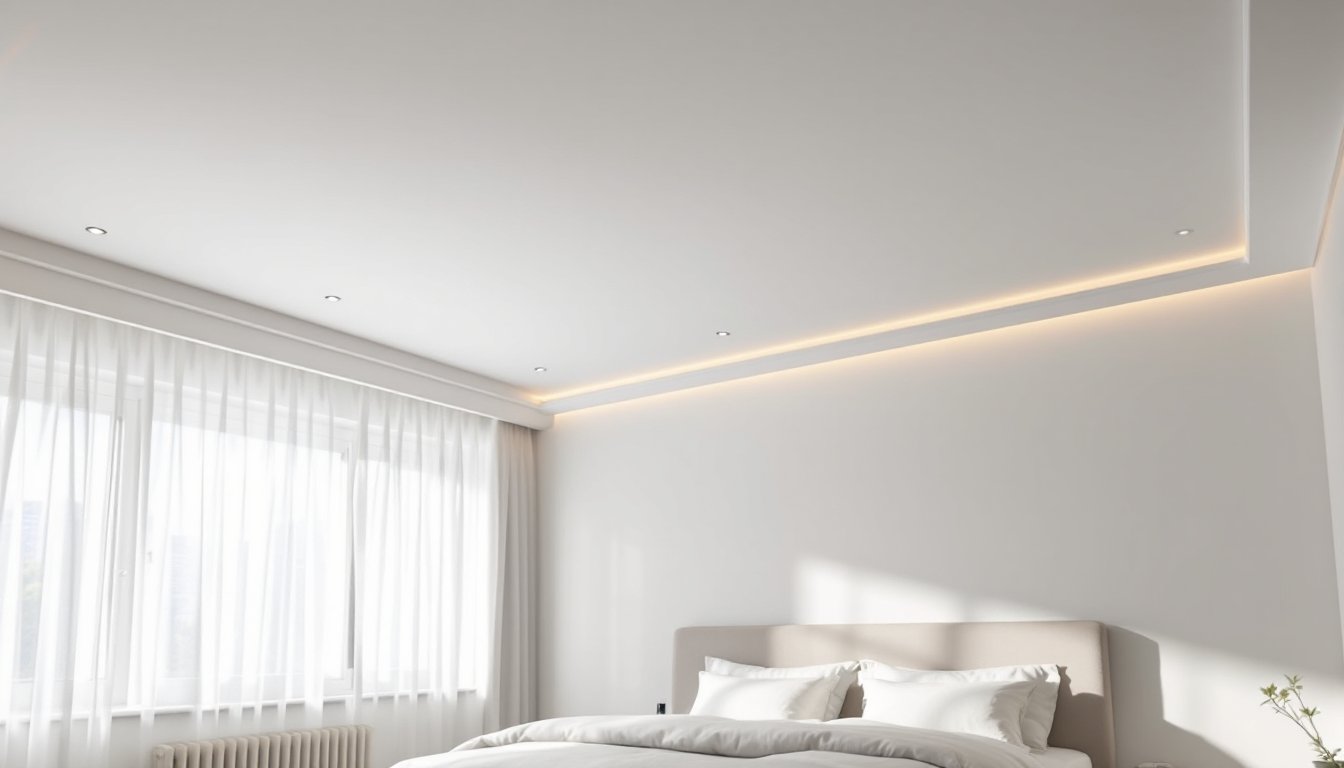
Lighting sets the tone for the entire room. Transitional bathrooms benefit from layered lighting: ambient overhead light (recessed or a simple flush-mount fixture), task lighting at the vanity (typically sconces flanking the mirror), and accent light (perhaps a small window or skylight if structural changes permit).
Sconce fixtures should have clean lines and simple shades, brushed brass, nickel, or matte black are ideal. Avoid ornate crystal or frosted glass with intricate patterns. For ceiling light, a simple drum pendant or recessed fixtures work well. Dimmers are standard in modern bathrooms: they let you control mood without installing separate fixtures.
Storage is often overlooked but critical in tight bathrooms. Floating vanities with beneath-sink cabinets maximize space, and a towel rack or ladder shelf (typically 18–24 inches tall) can anchor one wall without clutter. Recessed shelving in walls (between studs, about 3–4 inches deep) holds toiletries and decor without protruding. Medicine cabinets still belong in transitional bathrooms if your layout allows, just choose simple, recessed or surface-mount styles, not ornate frames.
Dwell for inspiration on integrating storage and lighting without sacrificing the clean aesthetic. The principle: every item stored should have a designated spot, and lighting should feel intentional, not afterthought.
Budget-Friendly Tips for Your Transitional Bathroom Upgrade
You don’t need to gut your entire bathroom to achieve transitional style. Prioritize high-impact, long-lasting elements: vanity, countertop, faucet, and tile. These are your visual anchors and durability investments.
Start with a mid-range vanity (around $400–$800) in solid wood with clean lines rather than a luxury brand. Pair it with quartz countertops ($50–$80 per square foot installed) instead of granite or marble, same visual appeal, less maintenance. A quality faucet ($150–$300) from mid-tier brands lasts longer than budget models and won’t corrode.
For tile, subway tile is cost-effective ($6–$12 per square foot) and widely available. Skip trendy micro-tile or custom cuts that require professional installation and labor charges. A simple running bond pattern is fast to install, reducing labor costs.
If your budget is tight, focus on one area first: the vanity. Paint your existing cabinets, refinish the mirror, and replace hardware, you’d be surprised at the transformation. This costs $200–$500 and can wait for a larger reno later. Interior design trends often highlight refresh-versus-replace strategies for homeowners managing costs.
Always account for prep work and unsealed surfaces. Waterproofing behind tile, proper substrate, and ventilation prevent costly moisture damage later. Hiring a licensed plumber for rough-in work ($800–$1,500) is worth the cost, DIY plumbing mistakes lead to water damage and code violations.
Conclusion
Transitional bathroom design works because it honors both function and form without forcing you to choose between them. By anchoring your choices in neutral palettes, quality materials, and restrained fixture selection, you create a space that feels fresh today and timeless tomorrow. Start with your biggest visual elements, vanity, tile, and hardware, and let the rest follow. The goal isn’t perfection: it’s a bathroom that genuinely works for how you live.