A cramped bedroom closet doesn’t mean you’re stuck with a jumbled mess of clothes and clutter. With thoughtful small bedroom closet design, even a tight space can transform into an organized, functional storage hub that actually fits your lifestyle. Whether you’re working with a reach-in closet, a corner alcove, or a deep but narrow space, strategic layout choices and smart accessories can double your usable storage. This guide walks you through assessing your needs, selecting the right configuration, and implementing practical solutions that won’t require a contractor’s paycheck.
Table of Contents
ToggleKey Takeaways
- Measure your closet in three dimensions and assess what you actually wear to avoid costly small bedroom closet design mistakes.
- Double your hanging capacity with a double-rod layout installed at 36–42 inches from the floor, ideal for closets 5 feet deep or more.
- Maximize vertical space with floor-to-ceiling shelving, door organizers, and clear bins to store 2–3 times more without eating floor area.
- Choose organization methods that match your habits—color-coded hangers, designated folding zones, and shoe storage prevent closet clutter from returning.
- DIY projects like installing shelves ($50–100), adding a double rod ($20–40), or hanging pegboards cost less than professional installation and take just 30 minutes to an hour.
- Add battery-powered LED lighting to reveal forgotten items, prevent duplicate purchases, and transform your closet’s functionality.
Assess Your Current Space and Storage Needs
Before you buy a single shelf, measure your closet in three dimensions: width, depth, and height from floor to ceiling. Write these down, don’t rely on memory. Note the door swing: an inward-opening door eats floor space, while a bifold or sliding door uses minimal clearance. Check for obstacles: light fixtures, electrical outlets, studs, or HVAC vents that’ll restrict where you can install systems.
Next, inventory what actually lives in this closet. Hang everything you own and sort by category: everyday clothes, work wear, off-season items, shoes, and accessories. Be honest about what you actually wear in the next 90 days versus what’s just taking up real estate. This isn’t about minimalism dogma, it’s about understanding your real storage demands. If you’ve got four winter coats, your closet needs to accommodate them: if you have 40 pairs of shoes, you need dedicated shoe storage, not a wishful hope they’ll “fit somewhere.” A simple spreadsheet or notebook sketch showing what goes where prevents costly organizing mistakes later.
Choose the Right Closet Layout for Your Room
The standard reach-in closet layout, one rod across the top and a shelf above, wastes vertical space and forces everything into a narrow window of hanging room. You’ve got several smarter alternatives.
Single-rod layout works if you’re hanging mostly lightweight items: t-shirts, blouses, light pants. It’s simple but cramped for a full wardrobe.
Double-rod layout stacks two rods vertically, doubling your hanging capacity. Install the lower rod at 36–42 inches from the floor, leaving room for folded items below. This is ideal if your closet is 5 feet deep or more: in shallower spaces, hangers may jam against the back wall.
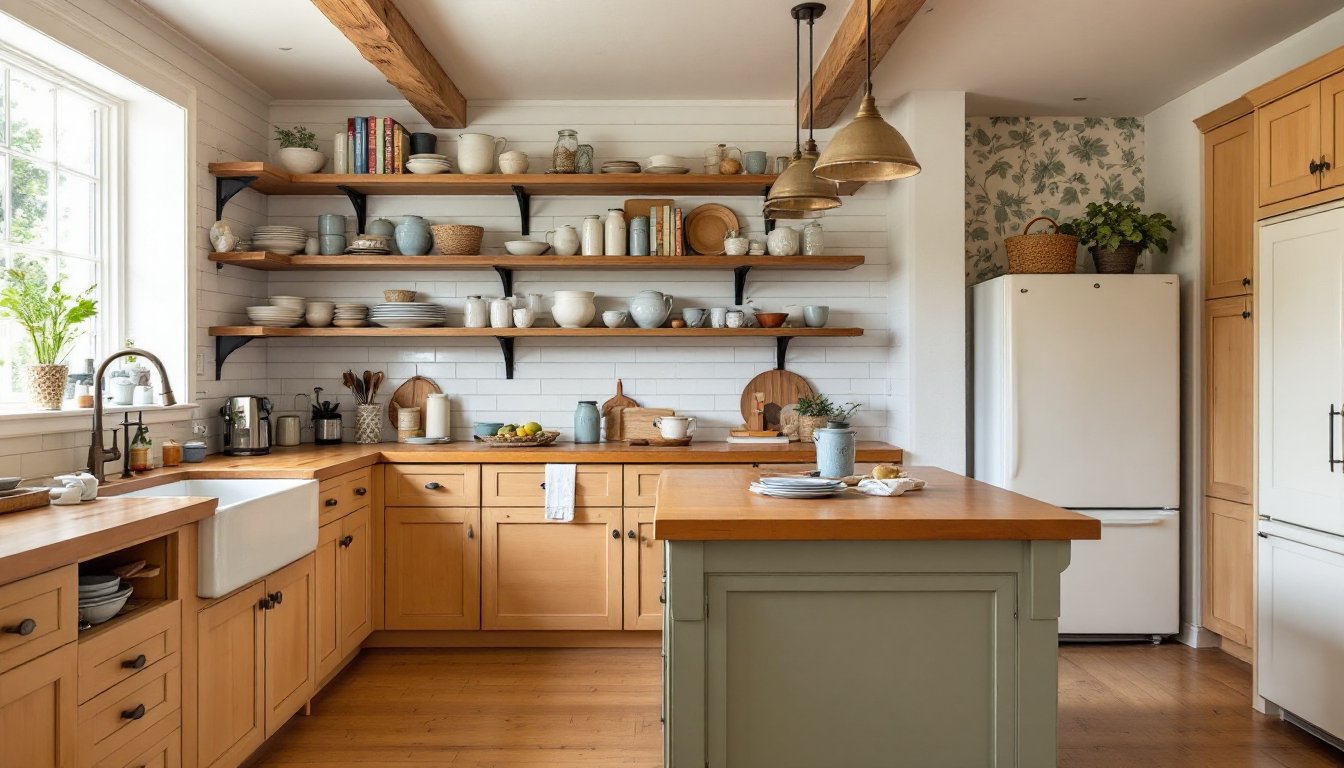
One rod plus shelving combines a single hanging rail with open shelves above and below. This hybrid approach suits varied wardrobes: dresses and jackets on the rod, knits and jeans folded on shelves, shoes on the bottom tier.
Corner or angled layouts work for awkwardly shaped closets. If your closet wraps around a corner or has sloped ceilings (think attic bedrooms), custom floating shelves or L-shaped rod systems adapt better than standard straight runs.
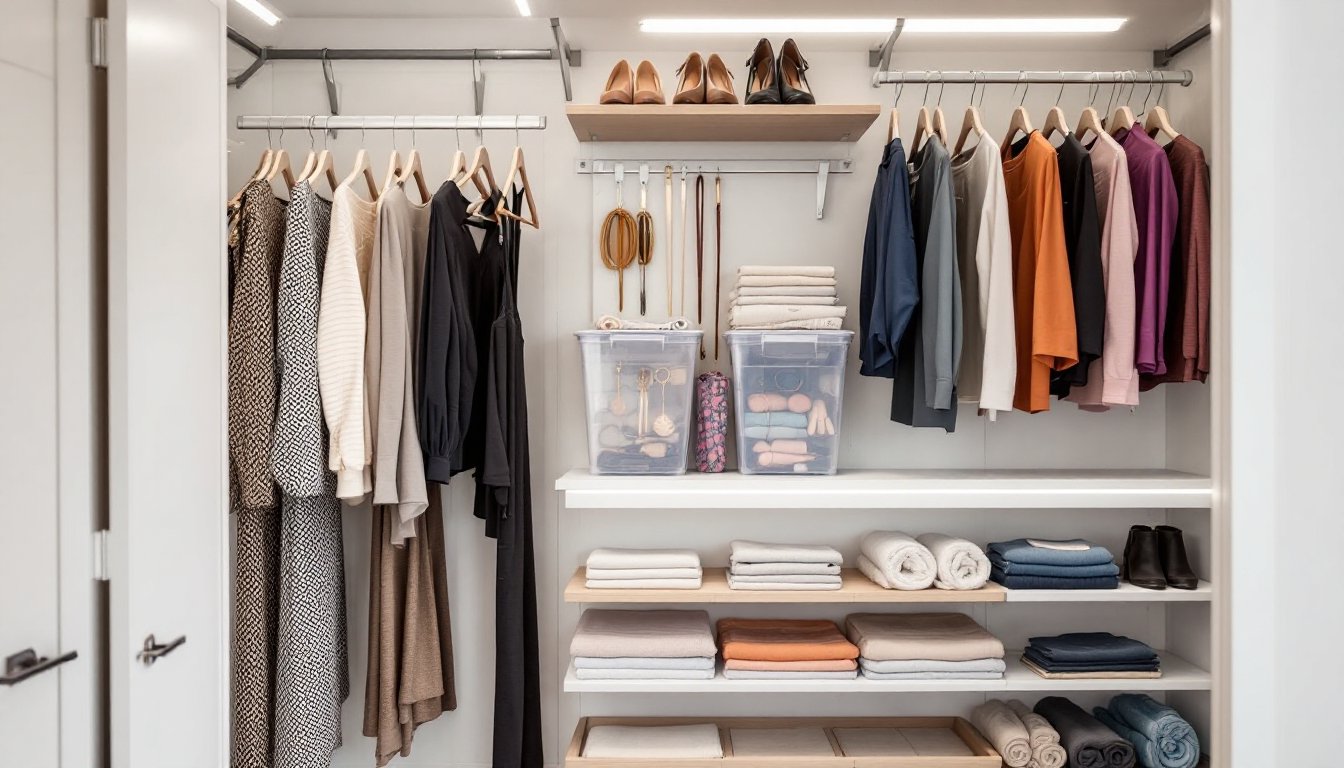
Vertical Storage and Shelving Systems
Vertical real estate is your best friend in a small closet. Floor-to-ceiling shelving multiplies storage without eating into floor space. Standard 1×12 or 1×10 lumber shelves span 24–36 inches comfortably with support brackets every 18–24 inches: wider spans sag under the weight of folded clothes. Adjustable metal bracket systems (like those from home centers) cost $10–20 per bracket and let you reposition shelves as needs change.
Don’t ignore the inside of the closet door. Over-the-door shoe organizers (clear plastic or fabric) hold 10–18 pairs in minimal footprint. Tension rods mounted horizontally on the door hold scarves, belts, or bags. A small pegboard section on the inside of the door corrals jewelry, keys, or small accessories.
Stacked storage bins on shelves maximize depth without blocking visibility. Clear plastic containers ($5–15 each) beat opaque ones, you can see off-season items without unloading everything.
Implement Smart Organization Systems
Organization systems fail when they’re overcomplicated or fight your actual habits. Choose methods that match how you naturally use your clothes.
Hanging method: Most people reach for the easiest-to-grab items. If you hang clothes by color, category, or frequency of wear, those items stay visible and accessible. Slim, nonslip hangers (cloth or velvet-coated) save 1–2 inches per garment compared to plastic ones, in a packed closet, that’s real gain.
Folding zones: Designate one shelf for everyday jeans and tees, another for work blouses, a third for knitwear. Use shelf dividers (wooden blocks, magazine holders, or wire organizers) to prevent toppling stacks. Label dividers if you share the home with family members.
Shoe organization: Flat, low-profile shoe bins slide under lower shelves and keep pairs paired. If shoes live on open shelves, arrange them by season or heel height to avoid a chaotic jumble. Clear plastic boxes show contents at a glance and stack vertically to save floor area.
Seasonal rotation: If closet space is truly limited, rotate off-season gear into under-bed storage, attic bins, or a spare dresser. Label these containers clearly and swap them quarterly. This keeps your active closet lean and focused. Real Simple’s organization guides offer more detailed strategies for seasonal storage rotations.
Essential Closet Accessories and Tools
A few well-chosen accessories transform function without very costly.
Hanging rods and brackets: Standard 1¼-inch closet rods cost $15–25 per 4-foot section. Install with heavy-duty brackets rated for 50+ pounds: bedroom closets surprisingly accumulate weight quickly. If you’re mounting into drywall studs (the easier, stronger option), use 2½-inch wood screws. If studs aren’t positioned helpfully, use toggle bolts or heavy-duty wall anchors rated for your rod’s maximum load.
Shelf supports: Adjustable metal L-brackets handle shelves 24–36 inches wide. For wider runs or heavier loads (folded sweaters and jeans weigh more than hangers), use three or four brackets instead of two. Avoid flimsy plastic shelf clips, they sag within months.
Bins and drawer units: Cloth-lined wooden cubes or woven baskets blend better than plastic totes and feel more intentional. Shallow drawer units (3–4 drawers, 24 inches wide) fit beneath windows or in corner spaces without eating much floor area.
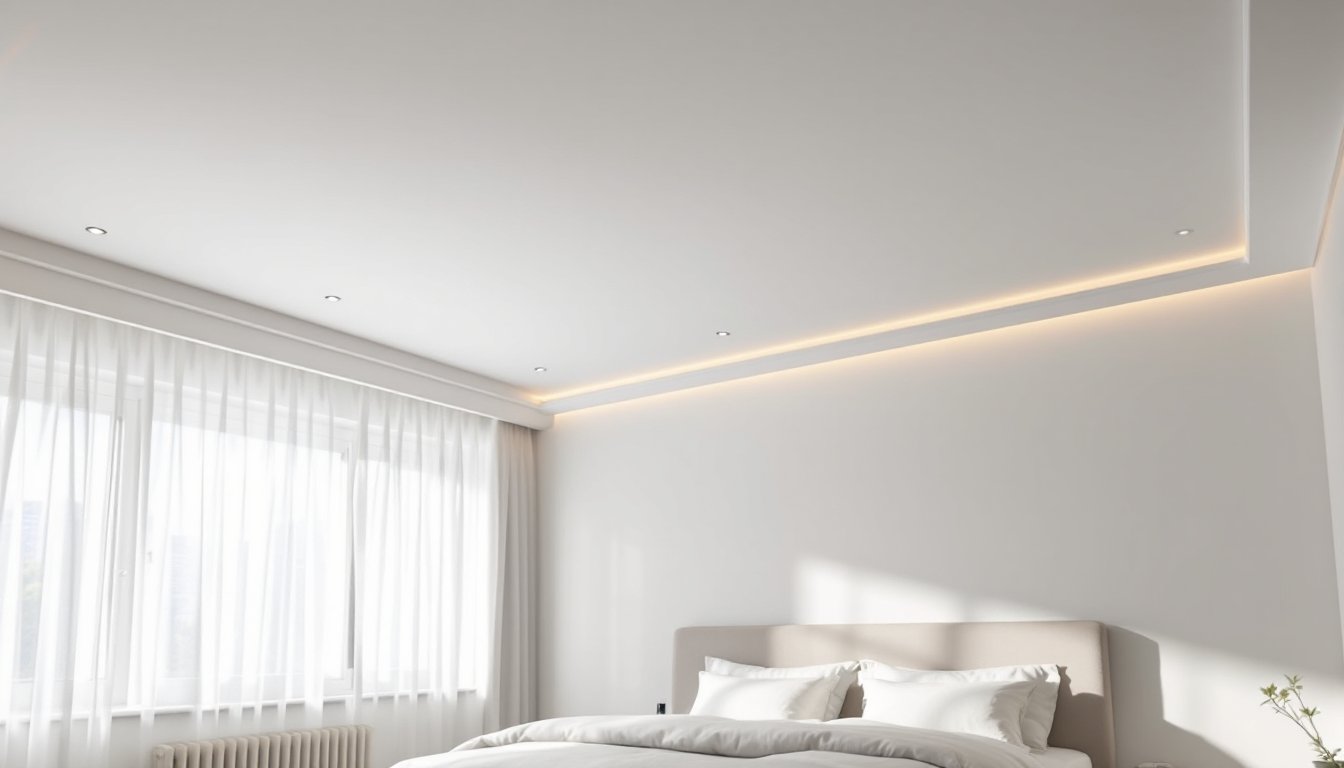
Lighting: Closets are notorious dark corners. A simple battery-powered LED strip light ($15–30) attaches to the shelf above your rod and reveals what you actually own. This alone prevents buying duplicates you forgot you had. If you’re comfortable with basic wiring, a hardwired closet light adds permanent value: hire a licensed electrician if you’re unsure, closets have specific code requirements for fixtures and ventilation.
Hooks and rods: Interior-door hooks hold belts, scarves, or a robe. Magnetic strips on the side wall corral metal jewelry or hair clips. Tension rods across a shelf create a second hanging rail for lightweight items like tank tops or camisoles. IKEA Hackers showcase clever modifications to standard closet products that maximize every inch.
Budget-Friendly DIY Projects for Small Closets
You don’t need a designer or expensive built-ins to upgrade a small closet. Here are projects you can tackle yourself.
Install shelving: Remove the closet rod (usually a simple bracket unscrew). Locate and mark wall studs using a stud finder ($15–30). Mount L-brackets to the studs using 2½-inch wood screws, spacing them 16–24 inches apart for stability. Cut ¾-inch plywood to fit, prime and paint it if you like, then screw it onto the brackets. Two shelves cost $50–100 in materials and take an hour to install. Wear safety glasses when drilling or sawing.
Add a double rod: If your closet has one rod, a double-rod kit ($20–40) lets you hang the upper rod at 65 inches and the lower at 40 inches. Follow the kit instructions carefully: misaligned rods jam hangers. This project takes 30 minutes and requires only a drill and wrench.
Build a shoe shelf: A simple open shelf frame (2×4 lumber, 36 inches wide) installed 8–12 inches above the floor holds 20+ pairs. Build a basic box, insert dividers every 4–5 inches, and screw it to the wall studs. Unfinished, it costs $20–30: stained or painted, it looks intentional. Apartment Therapy’s closet makeovers feature similar budget projects with step-by-step photos.
Hang a pegboard wall: Cut a sheet of pegboard to fit one side of your closet, prime it, paint it, and screw it to studs. Add pegs, hooks, and baskets ($30–50 total investment). This works brilliantly for belts, hats, bags, and accessories. It’s adjustable, move pegs around as your needs change.
Always wear work gloves when handling cut lumber, dust masks when cutting drywall or wood (MDF and plywood produce fine particles), and eye protection when overhead work could shower debris down. Rent a stud finder, power drill, or circular saw from a tool library if you don’t own them, no point buying a $200 tool for one weekend project.
Conclusion
A functional small closet comes down to honest assessment, smart layout choices, and thoughtful organization. Start by measuring, decluttering, and understanding what actually lives in your space. Choose a layout that matches your wardrobe mix, double-rod, hybrid shelving, or corner configurations each suit different needs. Layer in smart accessories: adjustable shelving, door organizers, clear bins, and better lighting. Then, tackle one or two DIY projects to maximize vertical space and accessibility. The result isn’t Pinterest-perfect chaos: it’s a closet that works as hard as you do.